···
DIY wall design 03, step-by-step do-it-yourself production, various colored surfaces with wall paint and roller plaster, gray and yellow, final photo 01 in the living room with decoration Image details File size:
47.9 MB (1.3 MB Compressed download)
Open your image file to the full size using image processing software.
Dimensions:
3638 x 4602 px | 30.8 x 39 cm | 12.1 x 15.3 inches | 300dpi
Date taken:
17 February 2017
Search stock photos by tags
Similar stock images DIY wall design 03, step-by-step do-it-yourself production, various colored areas with wall paint and roller plaster, gray and yellow, step 2: mask the area to be processed with tape Stock Photo https://www.alamy.com/licenses-and-pricing/?v=1 https://www.alamy.com/diy-wall-design-03-step-by-step-do-it-yourself-production-various-colored-areas-with-wall-paint-and-roller-plaster-gray-and-yellow-step-2-mask-the-area-to-be-processed-with-tape-image357563199.html RM 2BNMBE7 – DIY wall design 03, step-by-step do-it-yourself production, various colored areas with wall paint and roller plaster, gray and yellow, step 2: mask the area to be processed with tape DIY wall design 03, step-by-step do-it-yourself production, various colored areas with wall paint and roller plaster, gray and yellow, final photo 02 in the living room with decoration Stock Photo https://www.alamy.com/licenses-and-pricing/?v=1 https://www.alamy.com/diy-wall-design-03-step-by-step-do-it-yourself-production-various-colored-areas-with-wall-paint-and-roller-plaster-gray-and-yellow-final-photo-02-in-the-living-room-with-decoration-image357563085.html RM 2BNMBA5 – DIY wall design 03, step-by-step do-it-yourself production, various colored areas with wall paint and roller plaster, gray and yellow, final photo 02 in the living room with decoration DIY wall design 03, step-by-step do-it-yourself production, various colored areas with wall paint and roller plaster, gray and yellow, step 3: stirring up the plaster and tinting with color pigments Stock Photo https://www.alamy.com/licenses-and-pricing/?v=1 https://www.alamy.com/diy-wall-design-03-step-by-step-do-it-yourself-production-various-colored-areas-with-wall-paint-and-roller-plaster-gray-and-yellow-step-3-stirring-up-the-plaster-and-tinting-with-color-pigments-image357563200.html RM 2BNMBE8 – DIY wall design 03, step-by-step do-it-yourself production, various colored areas with wall paint and roller plaster, gray and yellow, step 3: stirring up the plaster and tinting with color pigments DIY wall design 03, step-by-step do-it-yourself production, various colored areas with wall paint and roller plaster, gray and yellow, step 4: painting the taped areas with roller plaster and paint roller Stock Photo https://www.alamy.com/licenses-and-pricing/?v=1 https://www.alamy.com/diy-wall-design-03-step-by-step-do-it-yourself-production-various-colored-areas-with-wall-paint-and-roller-plaster-gray-and-yellow-step-4-painting-the-taped-areas-with-roller-plaster-and-paint-roller-image357563212.html RM 2BNMBEM – DIY wall design 03, step-by-step do-it-yourself production, various colored areas with wall paint and roller plaster, gray and yellow, step 4: painting the taped areas with roller plaster and paint roller DIY wall design 03, step-by-step do-it-yourself production, various colored areas with wall paint and roller plaster, gray and yellow, Step 5: Peel off the masking tape when the paint is still slightly damp Stock Photo https://www.alamy.com/licenses-and-pricing/?v=1 https://www.alamy.com/diy-wall-design-03-step-by-step-do-it-yourself-production-various-colored-areas-with-wall-paint-and-roller-plaster-gray-and-yellow-step-5-peel-off-the-masking-tape-when-the-paint-is-still-slightly-damp-image357563210.html RM 2BNMBEJ – DIY wall design 03, step-by-step do-it-yourself production, various colored areas with wall paint and roller plaster, gray and yellow, Step 5: Peel off the masking tape when the paint is still slightly damp DIY wall design 03, step-by-step do-it-yourself production, various colored areas with wall paint and roller plaster, gray and yellow, Step 1: painting a part of the wall with light gray wall paint and a paint roller Stock Photo https://www.alamy.com/licenses-and-pricing/?v=1 https://www.alamy.com/diy-wall-design-03-step-by-step-do-it-yourself-production-various-colored-areas-with-wall-paint-and-roller-plaster-gray-and-yellow-step-1-painting-a-part-of-the-wall-with-light-gray-wall-paint-and-a-paint-roller-image357563091.html RM 2BNMBAB – DIY wall design 03, step-by-step do-it-yourself production, various colored areas with wall paint and roller plaster, gray and yellow, Step 1: painting a part of the wall with light gray wall paint and a paint roller DIY wall design 03, step-by-step do-it-yourself production, various colored areas with wall paint and roller plaster, gray and yellow, tip for Step 2: tear off the tape over the edge of a painter's spatula to get a straight finish Stock Photo https://www.alamy.com/licenses-and-pricing/?v=1 https://www.alamy.com/diy-wall-design-03-step-by-step-do-it-yourself-production-various-colored-areas-with-wall-paint-and-roller-plaster-gray-and-yellow-tip-for-step-2-tear-off-the-tape-over-the-edge-of-a-painters-spatula-to-get-a-straight-finish-image357563206.html RM 2BNMBEE – DIY wall design 03, step-by-step do-it-yourself production, various colored areas with wall paint and roller plaster, gray and yellow, tip for Step 2: tear off the tape over the edge of a painter's spatula to get a straight finish DIY wall design 03, step-by-step do-it-yourself production, different colored areas with wall paint and roller plaster, gray and yellow, material photo: roller plaster 'Easyputz' from Knauf with accessories, paint roller, structure brush, color pigments for tinting Stock Photo https://www.alamy.com/licenses-and-pricing/?v=1 https://www.alamy.com/diy-wall-design-03-step-by-step-do-it-yourself-production-different-colored-areas-with-wall-paint-and-roller-plaster-gray-and-yellow-material-photo-roller-plaster-easyputz-from-knauf-with-accessories-paint-roller-structure-brush-color-pigments-for-tinting-image357563202.html RM 2BNMBEA – DIY wall design 03, step-by-step do-it-yourself production, different colored areas with wall paint and roller plaster, gray and yellow, material photo: roller plaster 'Easyputz' from Knauf with accessories, paint roller, structure brush, color pigments for tinting DIY wall design 02, step-by-step do-it-yourself production, various turquoise colored areas separated by white wooden strips, final photo 03 in the living room with decoration Stock Photo https://www.alamy.com/licenses-and-pricing/?v=1 https://www.alamy.com/diy-wall-design-02-step-by-step-do-it-yourself-production-various-turquoise-colored-areas-separated-by-white-wooden-strips-final-photo-03-in-the-living-room-with-decoration-image357562961.html RM 2BNMB5N – DIY wall design 02, step-by-step do-it-yourself production, various turquoise colored areas separated by white wooden strips, final photo 03 in the living room with decoration DIY wall design 01, step-by-step do-it-yourself production, vertical colored stripes in the lower wall area, final photo 03 in the living room with decoration Stock Photo https://www.alamy.com/licenses-and-pricing/?v=1 https://www.alamy.com/diy-wall-design-01-step-by-step-do-it-yourself-production-vertical-colored-stripes-in-the-lower-wall-area-final-photo-03-in-the-living-room-with-decoration-image357562816.html RM 2BNMB0G – DIY wall design 01, step-by-step do-it-yourself production, vertical colored stripes in the lower wall area, final photo 03 in the living room with decoration DIY wall design 02, step-by-step do-it-yourself production, various turquoise colored areas separated by white wooden strips, material photo 03: wooden strips, Forstner bits, chipboard screws, wooden cones Stock Photo https://www.alamy.com/licenses-and-pricing/?v=1 https://www.alamy.com/diy-wall-design-02-step-by-step-do-it-yourself-production-various-turquoise-colored-areas-separated-by-white-wooden-strips-material-photo-03-wooden-strips-forstner-bits-chipboard-screws-wooden-cones-image357563073.html RM 2BNMB9N – DIY wall design 02, step-by-step do-it-yourself production, various turquoise colored areas separated by white wooden strips, material photo 03: wooden strips, Forstner bits, chipboard screws, wooden cones DIY wall design 01, step-by-step do-it-yourself production, vertical colored stripes in the lower wall area, step 03 coloring every second stripe with colored wall paint over the pencil lines Stock Photo https://www.alamy.com/licenses-and-pricing/?v=1 https://www.alamy.com/diy-wall-design-01-step-by-step-do-it-yourself-production-vertical-colored-stripes-in-the-lower-wall-area-step-03-coloring-every-second-stripe-with-colored-wall-paint-over-the-pencil-lines-image357562800.html RM 2BNMB00 – DIY wall design 01, step-by-step do-it-yourself production, vertical colored stripes in the lower wall area, step 03 coloring every second stripe with colored wall paint over the pencil lines 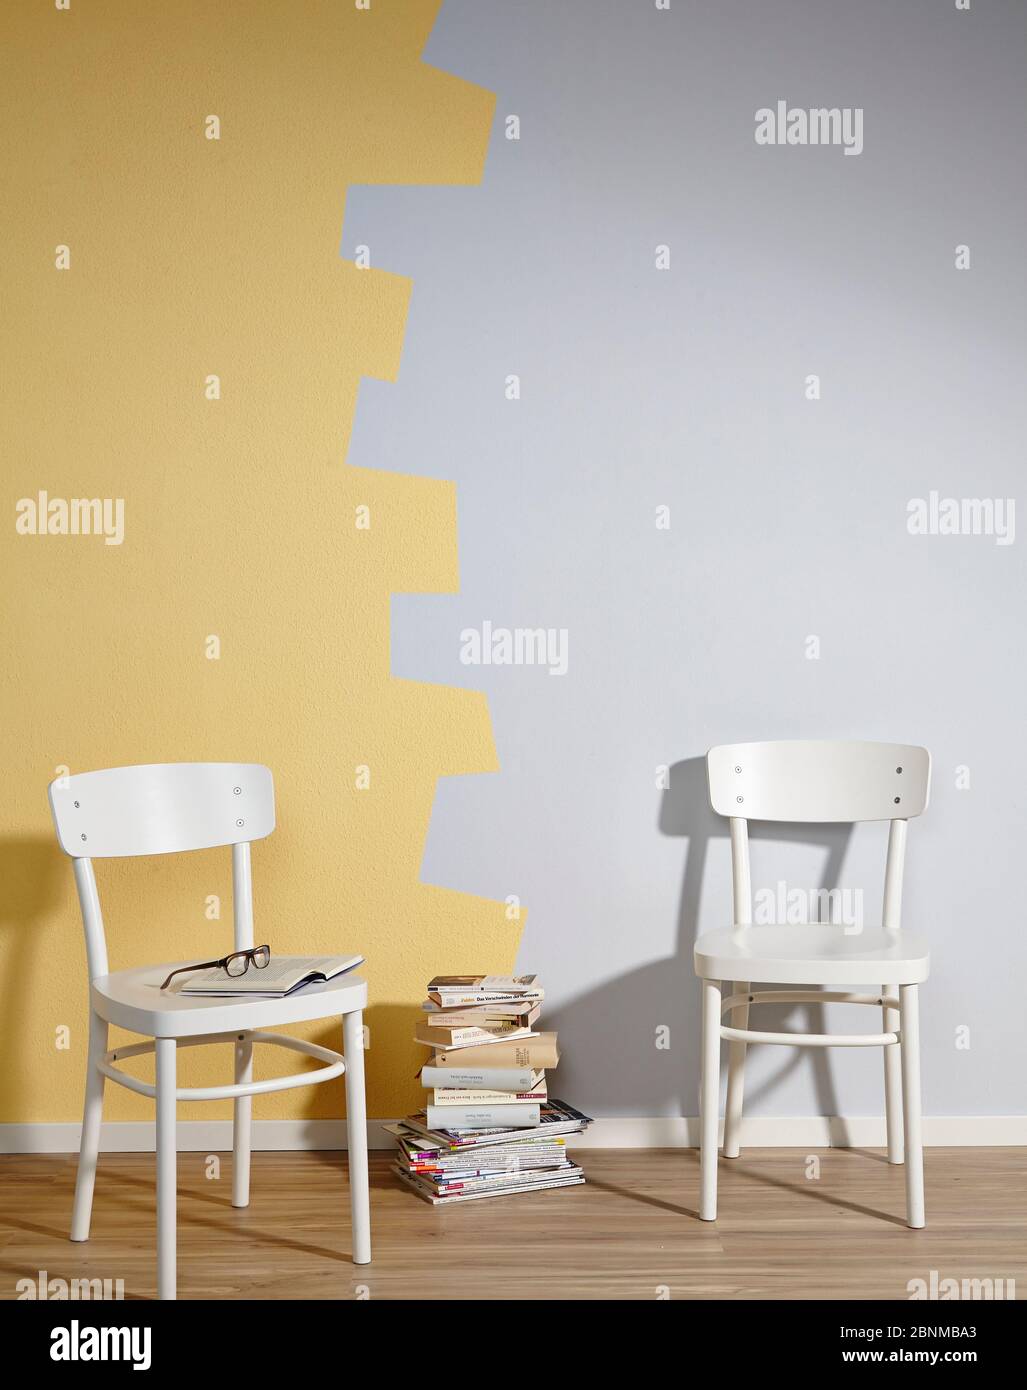