SELL IMAGES
Are you ready?
Turn your content into cash; start selling on Alamy in just 4 easy steps.

Ready to start?
It's easy to join Alamy! Sign up today, upload your best work, and start earning from your talent. We'll handle the marketing and distribution, so you can focus on capturing incredible images.
How we check your images
Images are used in a number of different ways – from small low-res web use, to large hi-res for billboards, so it’s important we check your images to make sure they meet the standards our customers need.
We do not accept any AI-generated images on our platform. As champions of original and authentic content we reject and remove any content we find that are AI-generated.
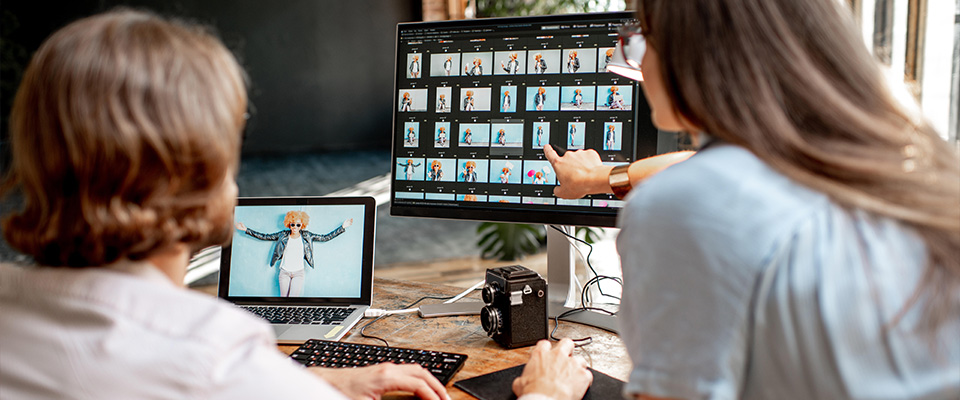
Our Quality Control Team look at your images at 100% to see if there are any technical errors. We recommend you read our guidelines before sending us your images so you know what our QC team are looking out for - we’ll accept original images from you as long as they are free from faults and meets our guidelines.
Read our QC guidelines
Captions and tags
In order to get your images ready to go on sale you need to add a caption and a minimum of 5 tags (we recommend you add more than just 5), which you can do in Alamy Image Manager. Once you’ve added this info, you should see the discoverability bar increase to “on sale” and your images should be on sale within 24 hours.
If you embed information within the image file with a caption and at least 5 tags, the images will automatically go on sale using the defaults set in your account.
If you'd like some inspiration and support on adding captions and tags, check out our Captions and Tags - How and Why? blog article.
Read the article
Understanding stock image licensing
As a photographer you retain the copyright. Alamy just licenses your stock images for customers to use. There are two image license types you can choose from:
RM stands for "Rights Managed". With this license, the customer only pays for what they’re using the image for. Rights Managed licenses can define how, where, when or for how long an image is being used.
RF stands for "Royalty Free". Customers pay a one–off fee to use the image with no restrictions on how they use it, or how long they use it for. RF images can be used across multiple projects, forever.
Additional revenue options
Sell images though our global distribution network: We have a large network of specialist stock photo agencies who distribute your images in countries and regions that we don’t work with directly or where there’s a language barrier. Opt in and you’ll get either 20% or 40% commission on the money we receive (after the distributor commission has been deducted) depending on what commission model you’re on.
Sell your images under unique and novel schemes: Our sales teams are always looking for new ways to evolve our business, whether that’s with the next big idea or a tailored solution for a key client. The images in the novel use pool give our sales teams the freedom to explore these schemes, prototypes and trials, with a variety of price points and licenses. The commission split is the same as you would receive for a direct sale. Opt in by visiting the Novel use page.
Frequently asked questions
Can I upload live news images?
Can I upload photos I've taken with my Smartphone?
What do I need to do for my first submission?
For your first submission:
We need three of your best images to check
Each image must pass our Quality Control criteria, which you can read more about here
All three images should have valid EXIF camera info. To check if the image has this data you can open the image file in Photoshop, then click on 'File Info' then 'Camera Data'. Here's an example:


If your first submission fails, we’ll send you an email and update your submission in Alamy Image Manager (AIM) to let you know which images have failed and why.
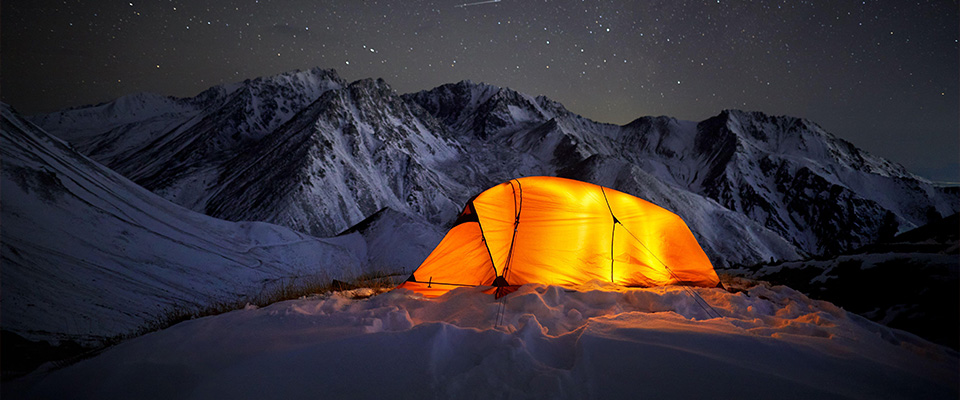
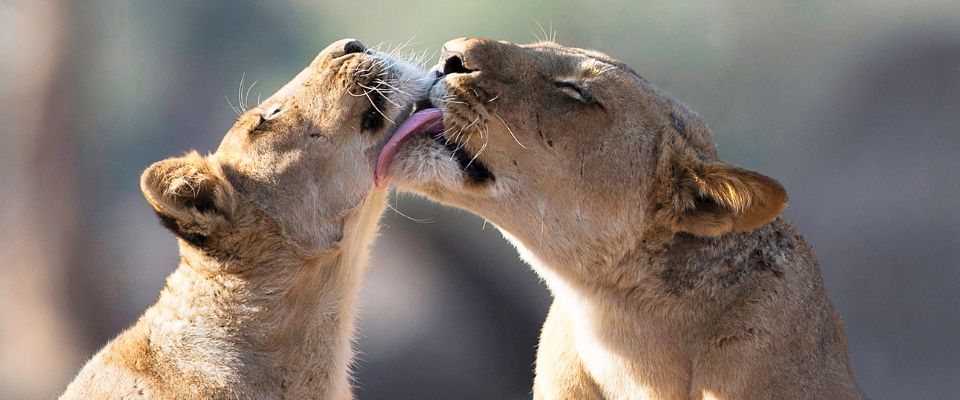
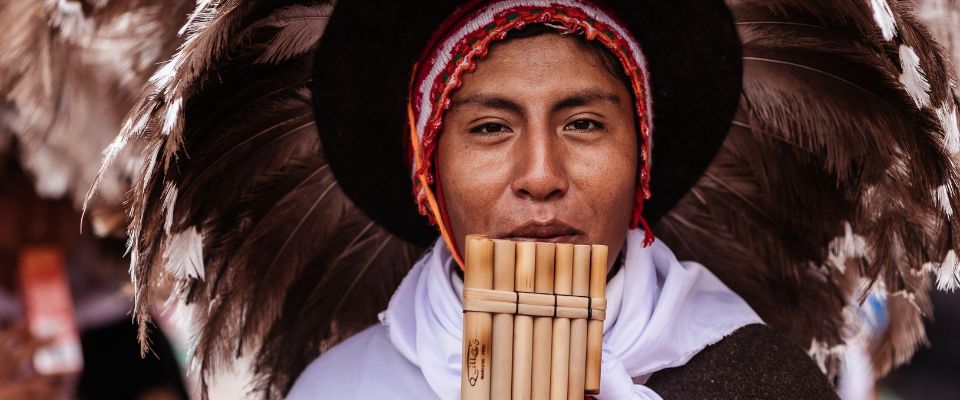
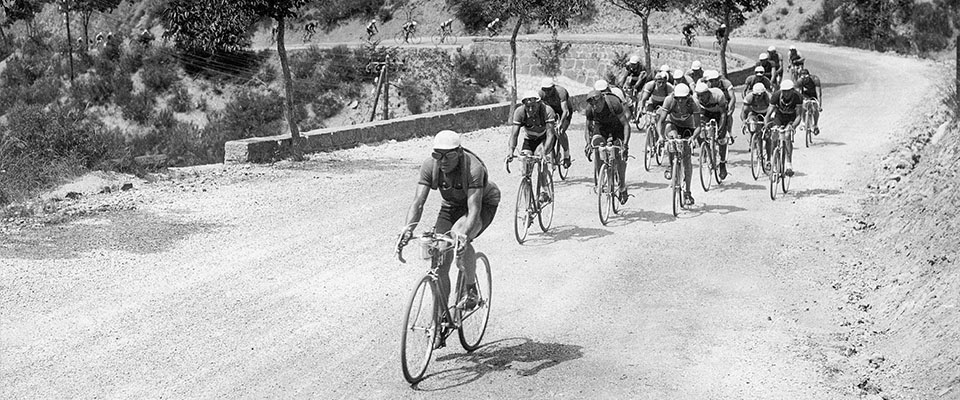
What should I shoot?